
Washing Your Finished Cross Stitch Pieces
If you're anything like me, you tend to bring your cross stitching outside to stitch, snack while your stitching or sip on your favourite drink. You finish the pattern you have been working on, look at the finished piece and instantly notice the fabric needs to be washed.
Even if you have an indoor dedicated stitching spot and don't snack or drink while you stitch, it is still a good idea to wash your finished cross stitch pieces. The natural oils from your fingers transfer onto the fabric while you stitch and these oils can stain the fabric yellow over time. Sometimes these yellow stains don't even appear right away. Washing finished pieces also helps get out stubborn hoop/Q-Snap/frame creases.
If cross stitch is a new hobby to you, or you just have never washed a finished piece before and are hesitant to, I don't blame you. I was terrified to wash my first piece. Some of our cross stitch pieces take hours and hour to stitch so the thought of ruining all that work is frightening. However, I would strongly encourage you to wash your finished stitches because it will help preserve your pieces over time. If you follow the 4 simple steps I'm about to outline, your piece will be safe and clean.
***NOTE: DMC and Anchor Floss is colourfast so does not run. If you stitched with hand-dyed fabric or floss I would wash BEFORE you stitch so that your colours won't run when you wash the stitched piece.***
What you'll need:
- warm water
- a sink, bowl or plastic tub
- dish soap (I use Dawn, but I don't think the brand really matters)


Step 1
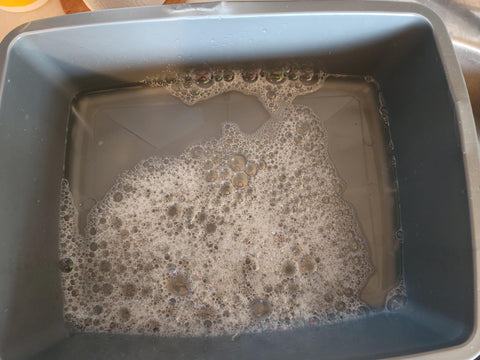
Fill your sink (or tub/bin) with warm water. You only need enough water to submerge your cross stitch piece. Add some dish soap and stir it around. I use this plastic bin that I got at the dollar store:
Step 2
Place your cross stitch piece in the water and let it soak for about an hour, swishing it around every once in awhile. If you have a stubborn stain use your fingers or a soft brush and gently rub the stain while making sure not to damage the fabric.
Step 3
When you see that your cross stitch is nice and clean, rinse it under cool water to get all the soap out. Place it on a towel and lay it out flat to dry. Do not ring it out as it might make the fabric stretch and warp your stitches.
Step 4
Now that your cross stitch piece is dry, it will most likely need to be ironed or steamed to get the wrinkles out. Personally, I enjoy ironing as much as I like to back-stitch (so not at all!) so I use my steam cleaner to get all the wrinkles out. My steam cleaner has a flat nozzle that I just run over the piece and all of the wrinkles come out as if I was ironing. Alternatively, you can use an iron. Make sure you press on the back of your piece while ironing.
Here are my two cross stitch pieces after they have been washed, but before they were steamed to get the wrinkles out. As you can see, the pencil and washable fabric marker have come right out!


That's it! Not scary at all and once you wash your first cross stitch piece it will become routine to always wash after finishing the pieces.
Leave a comment